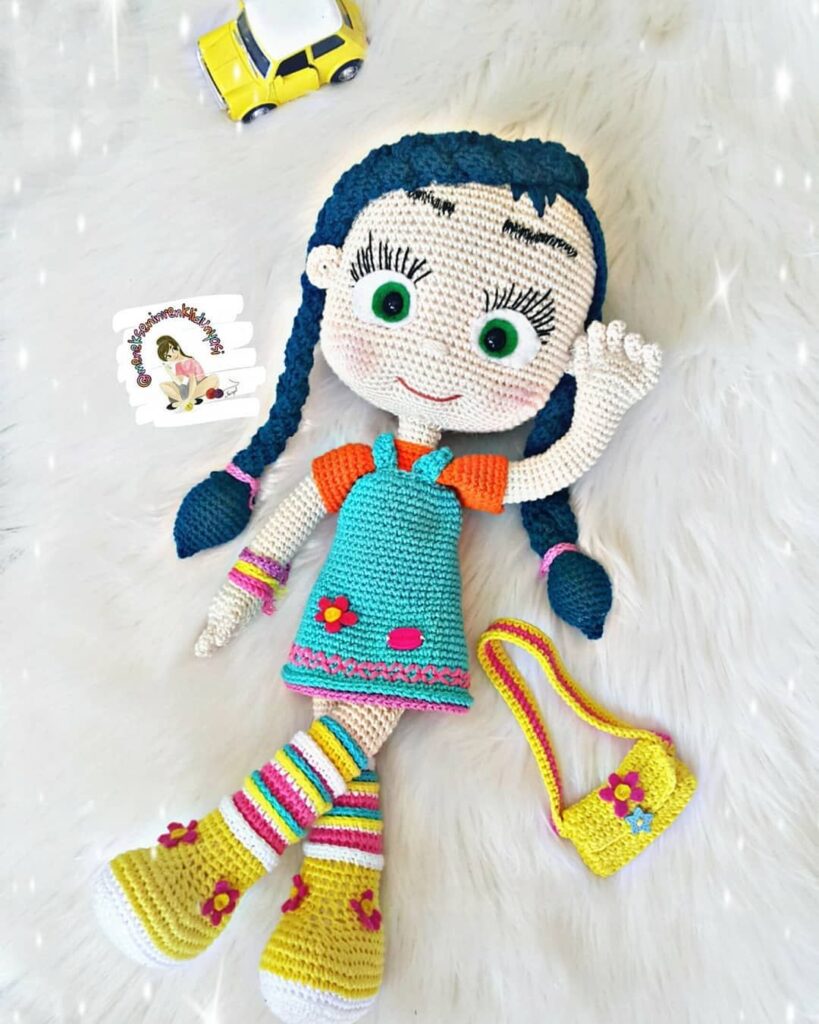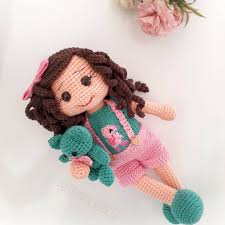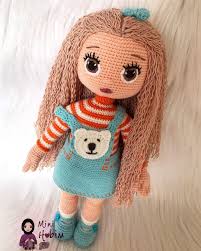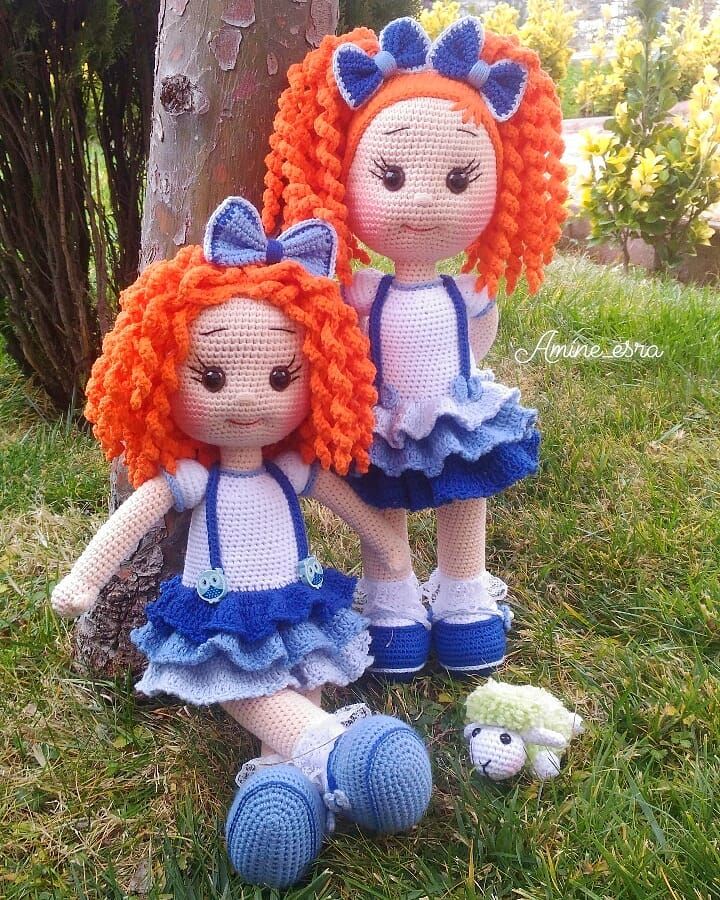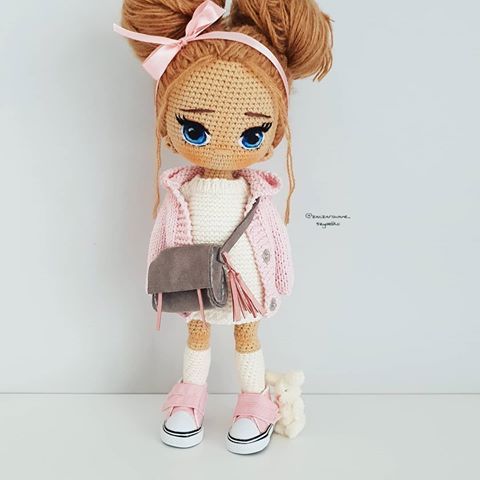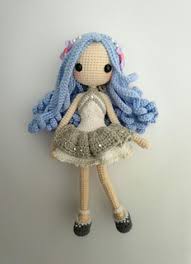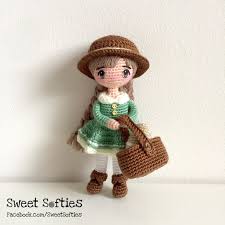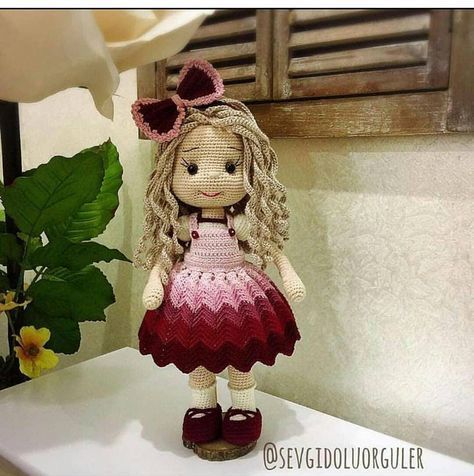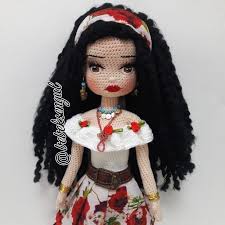
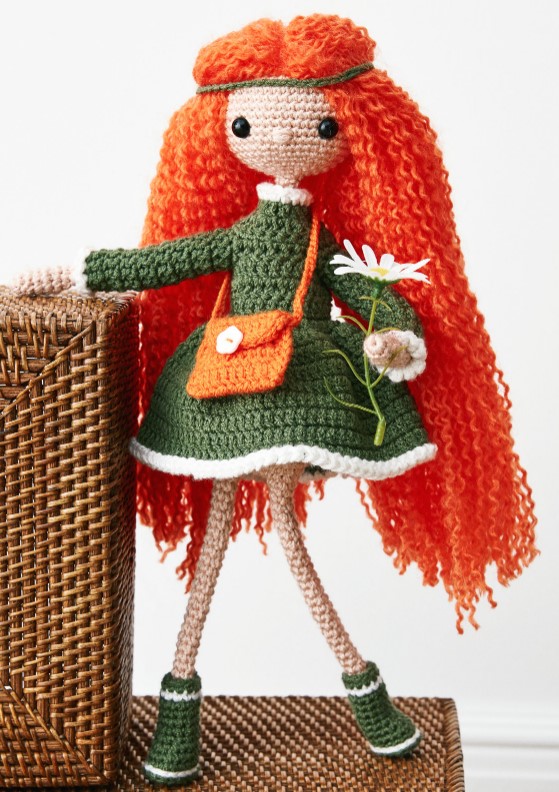
Knitted Girl Doll Making
HEAD RECIPE
1 – mr (6)
2- 6inc (12)
3- (sc, inc) * 6 (18)
4 – sc, inc, (2sc, inc) * 5, x (24)
5 – (3sc, inc) * 6 (30)
6 – 2sc, inc, (4sc, inc) * 5, 2sc (36)
7 – (5sc, inc) * 6 (42)
8 – 3sc, inc, (6sc, inc) * 5, 3sc (48)
9-16- (48)
NOTE: Eyes 14-15. It is installed by leaving 8sc between rows. Between 16-17 rows of nose is processed
17- 3sc, dec, (6sc, dec) * 5, 3sc (42)
18- (5sc, dec) * 6 (36)
19- 2sc, dec, (4sc, dec) * 5, 2sc (30)
20- (3sc, dec) * 6 (24)
21- sc, dec, (2sc, dec) * 5, sc (18)
22- (sc, dec) * 6 (12)
23- 6dec (6) (leave rope long to sew)
ARMS (2 Pieces)
1-mr (6)
2- (6)
3- (sc, inc)) (9)
4-5- (9)
6- (sc, dec) (6)
7-25 (6)
LEGS + LEGS (2 Pieces)
1-mr (6)
2- (6)
3- (sc, inc) (9)
4-5- (9)
6- (sc, dec) (6)
7-35- (6)
BODY
1-Legs are joined with 5 ch (22)
2- One of the sides is increased (24)
3- (3sc, inc) * 6 (30)
4- 15- (30)
16 – (3sc, dec) * 6 (24)
17- 18 – (24)
NOTE: Here we start filling fiber.
19- (2sc, dec) * 6 (18)
20-26- (18)
27- (We add the arms to the body) 5sc, 6sc from the arm, 9sc, 6sc from the arm, 4sc (30)
28- (30)
NOTE: We insert the wires and fill the fiber
29- (3sc, dec) * 6 (24)
30- (2sc, dec) * 6 (18)
31- (sc, dec) * 6 (12)
32- 6dec (6)
33-36- (6)
NOTE: We sew the head to the body
DRESS
1-20 ch
2- From 3rd ch to dc (18)
3- Turn 2 ch 3 dc, (dcv, dc) * 6, 3 dc (24)
4 – Turn 1ch 24sc
5 – Turn 2 ch 4 dc, 4 ch 5. 8 dc to hole, 4 ch 5. 4 dc to hole
6- Each hole dc (24)
7-8- (24) (At the end of the row we connect the two ends with cc)
9- dc (25)
10- 3 dc to each hole
11-17- dc to each hole
18- (We do edge lace with white thread) 1 ch, 1 hdc into the same hole, cc- continue like this until the end of the row.
NOTE: You can sew buttons on the back of the dress. Or you can sew the side that is completely open at the back
COLLAR: We do the same as the hem edge with white rope.
DRESS HANDLES
1-We get 10 x by taking loops from between, we combine it with cc
2- 2 ch 10 dc
3- 9 – 10 dc
10- We are making edge lace with white thread.
BOTS (2 Pieces)
1- (with green rope) 5 ch
2- From the 2nd inc, 2sc, w, 2sc, inc (11)
3- inc, 3sc, 3inc, 3sc, inc, cc (16) we break the rope
NOTE: We also do it with white thread from the same piece.
4- With green rope, right in the middle of the heel
We connect the two parts by starting cc.
5-6- (16) (combine with cc at the end of the rows)
7- 6sc, 2dec, 6sc, cc (14)
8- 5sc, 2dec, 5sc, cc (12)
9-13- (12)
14- With white rope (12)
15- With green rope (12)
BABY HAIR TRANSPLANTATION
The same size rope is cut to the desired length for the hair.
It is fixed to the head with a felt needle starting from the middle of the head.
Then the ropes are fixed to the lower sides as desired.
Curly appearance is obtained by unfolding the last rope.
With green rope, a chain is pulled according to the head and a hair band is made.
(If you do not want to use a felt needle, you can fix the hair on the head by passing it directly.
BAG RECIPE
1-12 ch
2- 10 dc from 3rd ch
3-7- 10dc
8- 7 dc off the edges
Let’s connect the edges with 9- cc
Pull the desired length chain
Let’s make the bag handle
Let’s sew a button on the front